Setting Up Your IDE With Lightrun
Lightrun allows developers to instrument applications in real-time and on-demand, right from the IDE. We support a variety of different IDEs and you can choose whichever you want, but in this workshop write-up we’ll use our VS Code plugin.
Install Plugin
To get the plugin:
- From the VS Code menu bar, select View > Extensions
- In the plugin search field, enter
Lightrun - Select the Lightrun plugin and click Install
- If prompted, restart VS Code
Once the plugin’s installed, you’ll see a blue “Sign In” button. Click it, and your IDE should automatically connect to Lightrun.
Since we’ve already run our application with the Lightrun agent, you should see it running on the Lightrun plugin sidebar:
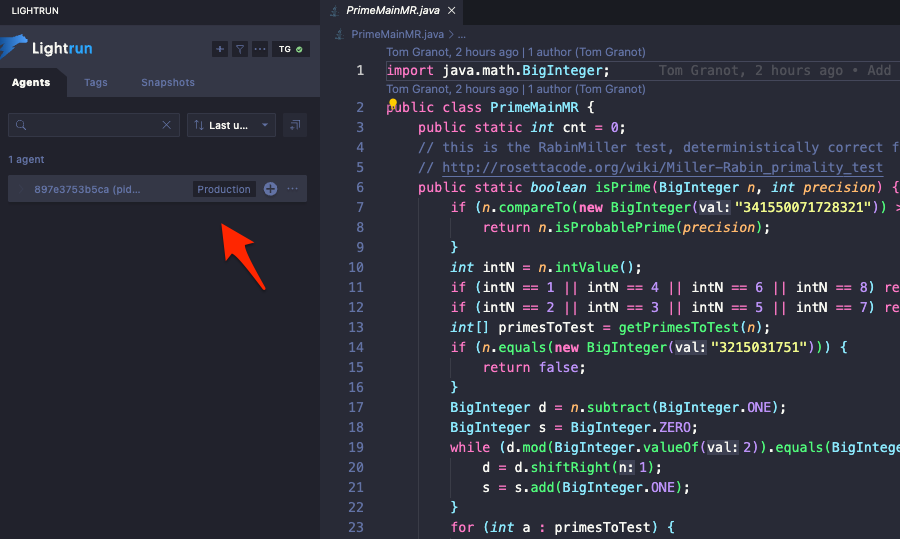
In order to actually work with Lightrun, we’ll a copy of the code of the application running inside the container - clone the repo into your IDE:
git clone https://github.com/lightrun-platform/lightrun-aws-workshop.git
And open up the PrimeMainMR.java file in your IDE.
Note that there’s no need to compile the file locally - Lightrun automatically matches the source code you have locally with the compiled program running remotely.
We’re now ready to start using Lightrun!